YOU’LL NEED - LEGO Dots base plates + lots of small, flat pieces (other LEGO plates work too) - Stamp pads (gold and silver are especially lovely) or washable paint - Plain index cards (great printing paper) - Wipes / paper towels + a tray or newspaper for mess
START WITH A STORY 1) Read Hello Ruby: Journey Inside the Computer. 2) Talk for a moment about what’s inside a computer: chips, memory, inputs and outputs, all the hidden parts that make a machine feel alive.
DESIGN A MICROCHIP 1) Each child designs a “microchip model” on a LEGO plate. 2) Encourage patterns: repeats, stripes, grids, little pathways, tiny surprises. 3) Leave some empty space. (Empty space is part of the design.)
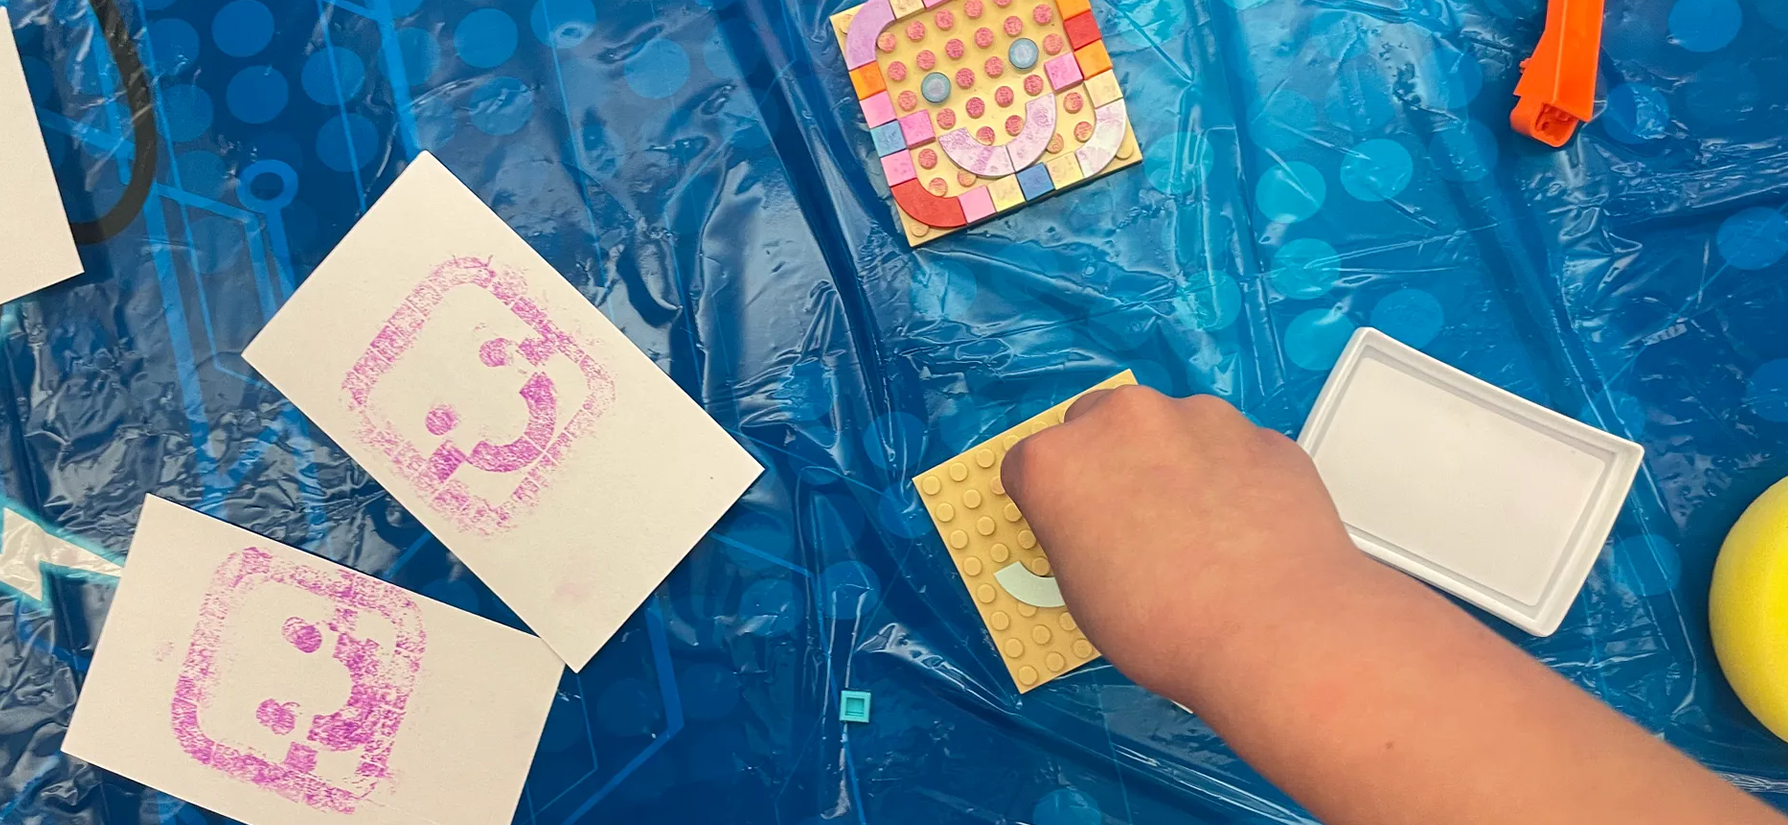
PRINT IT (LIKE A CHIP FACTORY) 1) Ink the LEGO surface with a stamp pad (or paint with a sponge). 2) Press an index card onto the plate. 3) Peel slowly. Put the print aside to dry.
MAKE A BATCH Real chips are made in batches. Do three prints: - Print 1: your first design - Print 2: change ONE piece, then print again - Print 3: change ONE piece again, then print again
Keep the three prints together. They’re siblings.
EXPERIMENT WITH INK This is where it gets fun fast: - Try overlapping colors. - Try blending at the edges. - Try applying ink lightly vs. heavily. - Try printing twice without re-inking (a “ghost print”).
WONDER: WHAT DOES YOUR CHIP DO? After printing, invent a use case: - What does your chip control? - What does it remember? - What kind of machine would need it?
Then spend a minute in the world of nanometers. Microchips live in a scale that’s hard to picture. That’s part of the magic.
BONUS: TURN THEM INTO BOOKMARKS When the prints are dry, trim them into tall strips. Your microchip designs make charming bookmarks.
CLEANUP (SAVE TIME FOR THIS) Reserve time for: - wiping fingers and tables - disassembling the LEGO boards (pieces like to migrate) - sorting pieces back into their homes
FOLLOW-UP (OPTIONAL) Do “Software or Hardware?” next: which parts of today’s activity were materials, and which parts were instructions?


